Category: Recipes

Mushroom Spinach Pesto Lasagna

Last time I made lasagna, it turned out *exactly* perfect. I’m certain I wrote down my recipe at that time, but I can’t find it anywhere. So, I’m hoping this version turns out okay, and meanwhile I’m documenting every step.

Ingredients:
1 28oz can crushed San Marzano tomatoes
1 28oz can diced San Marzano tomatoes
1 large onion
10 TBS butter
1/2 tsp salt
1/2 tsp baking soda

8oz mushrooms
1/8th cup olive oil
salt & pepper

16oz frozen chopped spinach
4oz pesto

16oz mozzarella
16oz ricotta
4 eggs

1lb DeCecco lasagna noodles

Start the sauce first, since it takes at least 45 minutes to simmer.
Usual Marcella Hazan recipe.
Before I use the sauce, I like to remove the onion, then run the immersion blender for a moment, to make sure all the diced tomatoes are fully incorporated. This recipe makes more sauce than I needed, but it’s delicious and will get used for something.

Mushrooms:
Pre-roast the mushrooms to extract as much liquid as possible, while concentrating the flavor using the “Easy Roasted Mushrooms” recipe at https://www.seriouseats.com/easy-roasted-mushroom-food-lab-recipe
With an immersion blender, chop coarsely.
(Okay for this version, I only had 8oz mushrooms, but I suspect 16oz would be better. Time will tell.)

Spinach:
Thawed, drain, and SQUEEZE until absolutely all of the moisture has been removed.

Cheese Mixture:
Grate the mozzarella. In a large bowl, mix moz, ricotta, and eggs. Combine well, then divide evenly into two bowls.
Into one bowl, stir spinach and pesto.
Into the other bowl, stir mushrooms.
Refrigerate until assembly.

FINALLY! Pasta.
The sauce is nearly finished and the cheese mixtures are in the fridge. Honestly, at this point, I need a little sit-down. But then! Boil pasta for 4 minutes. Drain, plunge into cold water to keep noodles from sticking together during assembly.

Assembly:
This time, I layered, from bottom to top:
Sauce
Noodles
Spinach cheese mixture
Noodles
Mushroom cheese mixture
Noodles
Sauce
— Which is less sauce that I usually add, but I’m aiming for distinct layers. Also, those two layers of sauce were pretty thick. I’m not at all worried about not enough moisture. The remaining sauce (and the onion) will be reheated and served on the side.

At this point, double-cover the lasagna, and put it into the fridge overnight, to bake and serve the next day. Sure, I could bake it right away, but dammit. The entire kitchen, and every bowl, pot, and utensil is dirty, and I need a nap.

Next Day:
Take lasagna out of the fridge maybe 20 minutes before putting it into the oven. I like to top with a generous dusting (flurry? blizzard!) of freshly grated Locatelli cheese before baking.
Preheat oven to 350. Bake covered, maybe 45 minutes, maybe more or less.
Absolutely plan to take it out of the oven a solid 10 minutes before serving, at the very least. Can not serve lasagna right out of the oven. It needs time to rest. Lots of time.
Since my guests are due to arrive at 5:pm:
3:50 – remove from fridge, pre-heat oven
4:10 – start baking
4:55 – remove from oven
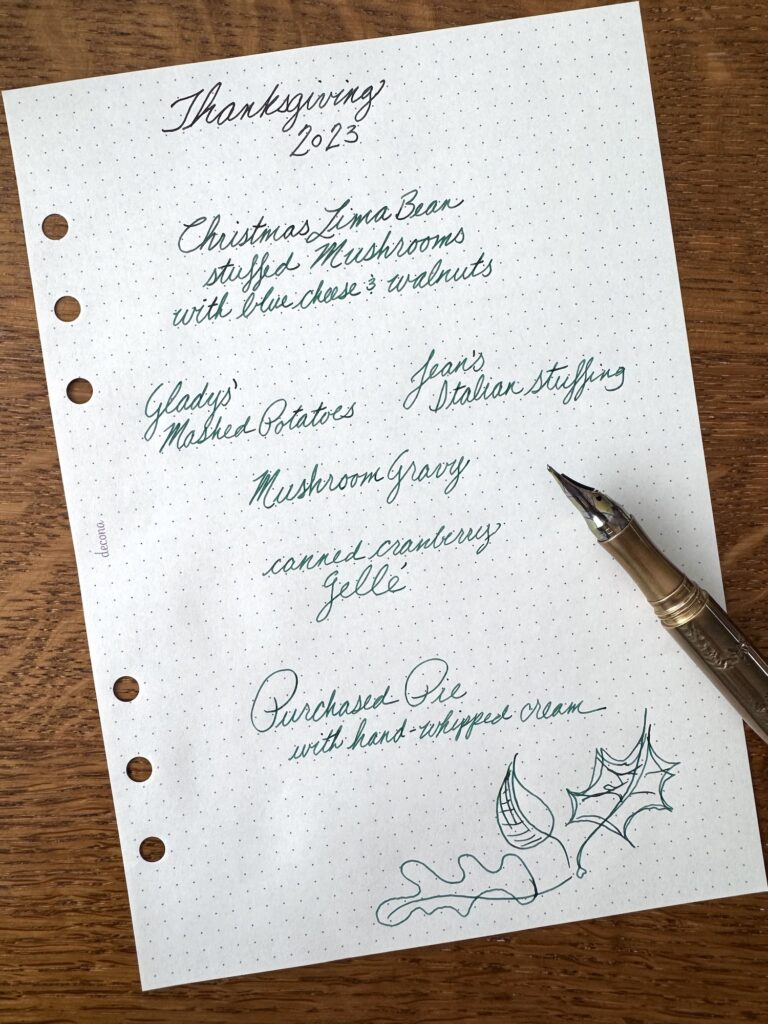
Thanksgiving 2023

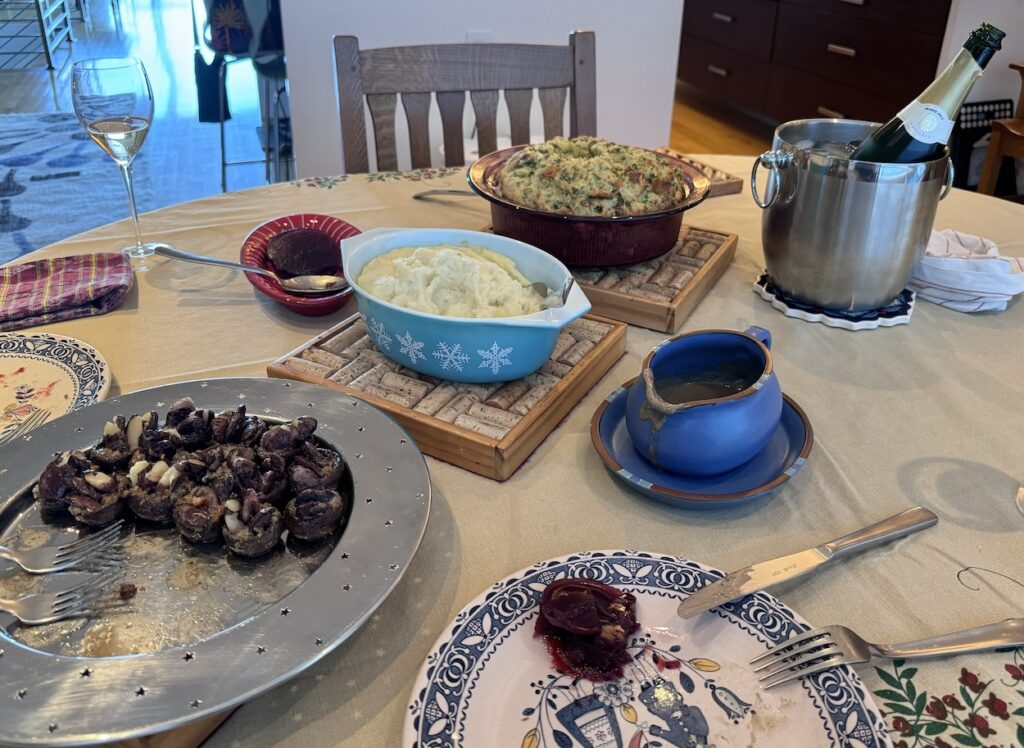
Menu:

Baby Bella Mushrooms stuffed with
Rancho Gordo Christmas Lima Beans,
Blue Cheese & Walnuts

Grandmom Gladys’ Mashed Potatoes

Grandmom Jean’s Stuffing

Mushroom Gravy

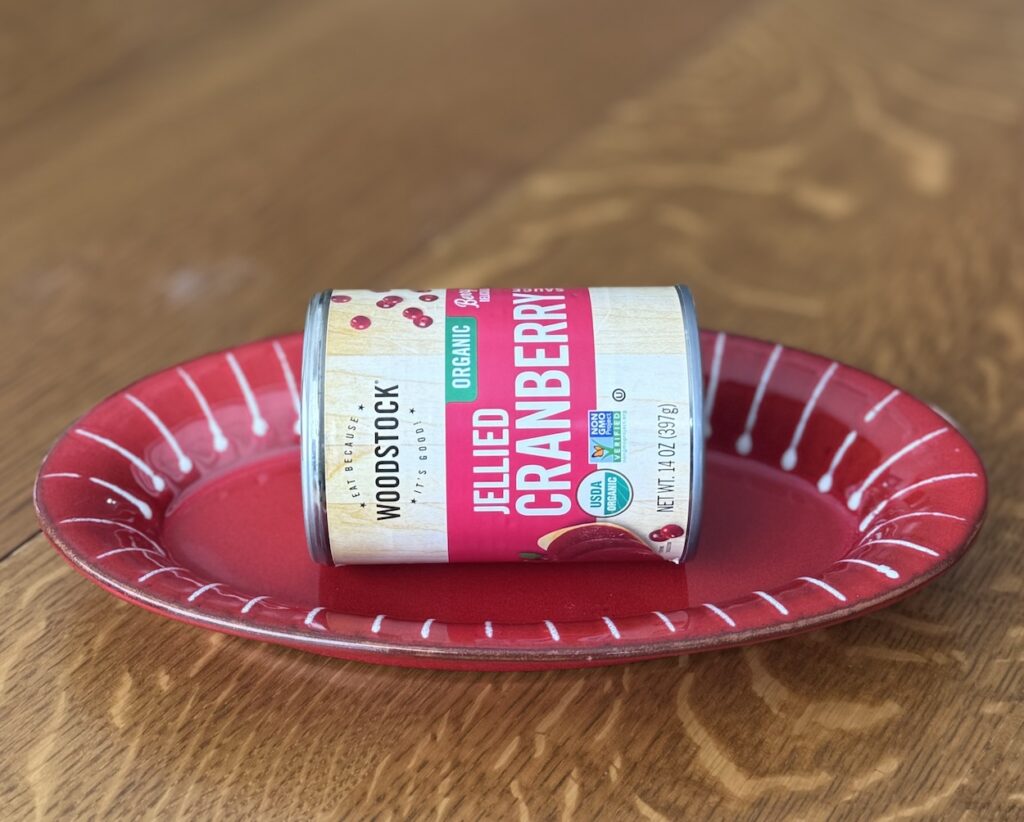
Canned Cranberry Gelée

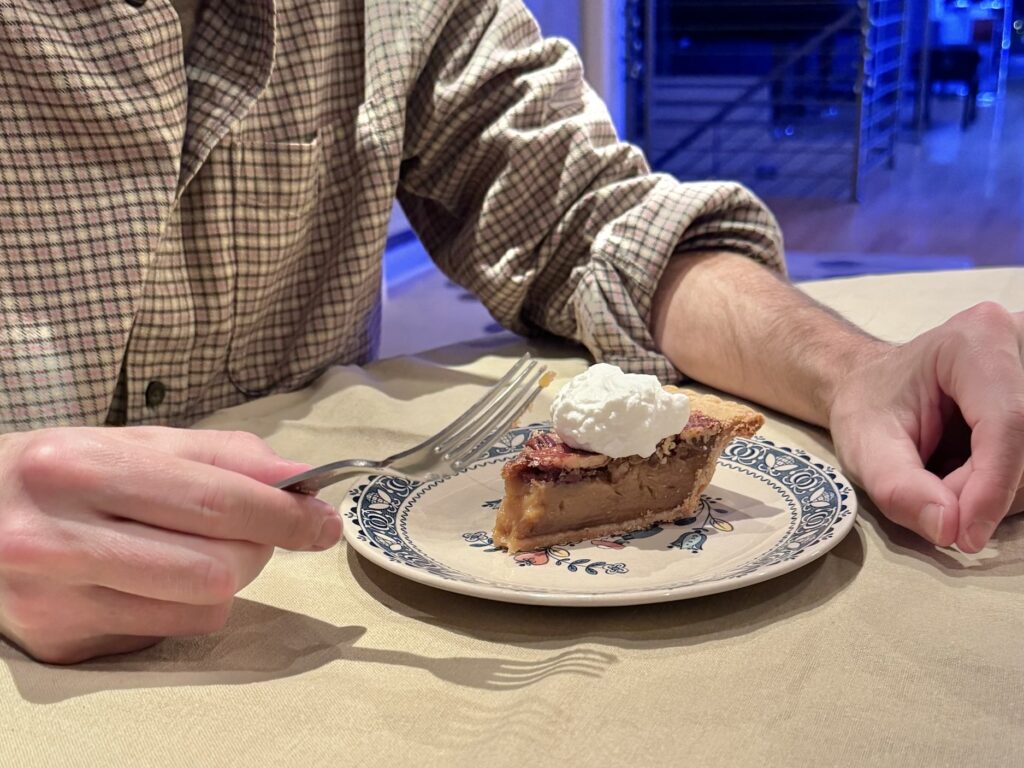
Noe Valley Bakery Pecan Pie with
Hand-Whipped Cream

Monday:

Grocery shopping for all ingredients.
Made the compound butter for the entree and the gravy, because those are the things that keep best for a few days. Still, somehow I’m drastically behind schedule.

Blue Cheese & Walnut Compound Butter
1 stick salted butter
2oz blue cheese
1/3 cup very finely chopped walnuts (think: dust)
1 TBS dry sherry
Generous snip of rosemary

Make sure all your ingredients are at room temperature.
Stir, stir, stir. Stir more. Stir until you don’t really see any more streaks of plain butter, or until you just don’t care anymore.
Can be stored in a sealed container for 3-4 days before use.
Take a tentative, curious lick of the spatula. Lose all sense of decorum. Lick the bowl. Lick your fingers. It’s butter with cheese, nuts, and alcohol, FFS. It’s DELICIOUS. Keep licking. Why else could we possibly be on earth if not to revel in pleasure.

Mushroom Gravy
I basically followed the recipe from Serious Eats, with very few modifications:
– Veggie stock (used a vegan “beef” stock) instead of meat stock
– Hen of the Woods and portabella instead of crimini
– Rosemary instead of thyme
– Finally, I pureed it until it was silky smooth. I don’t want a chunky gravy.


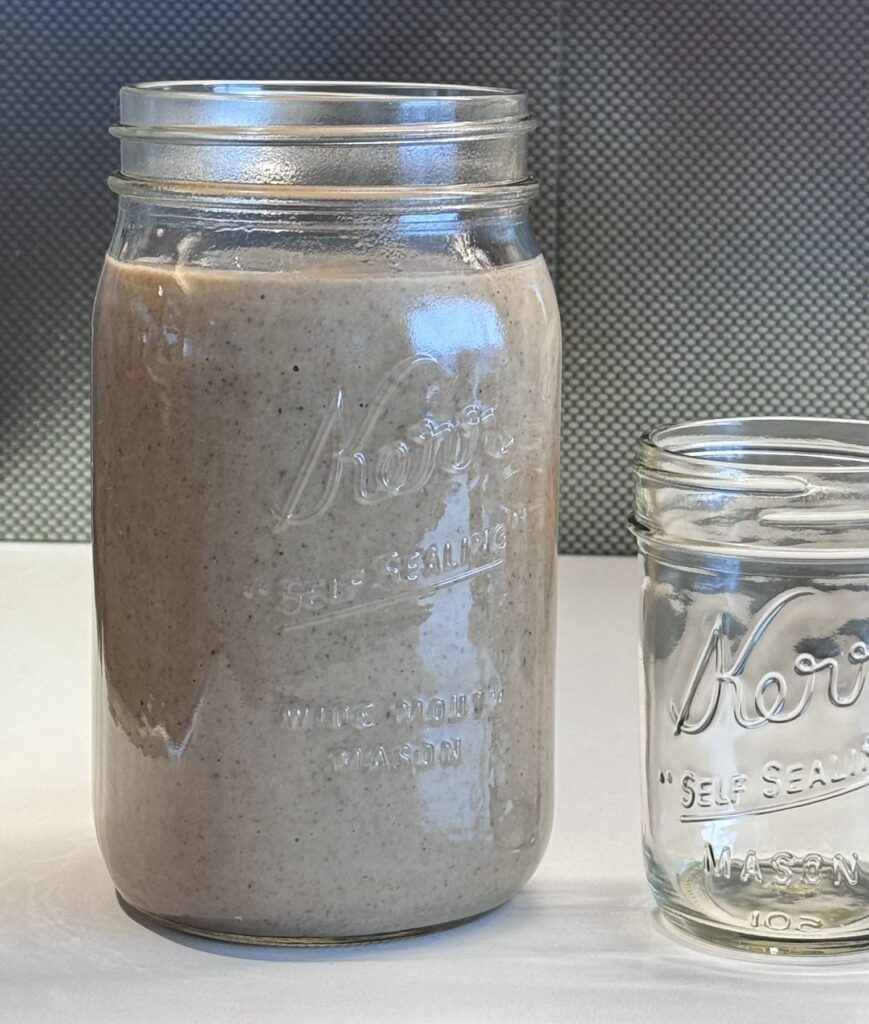
Sooooooo. I’m washing and chopping 12oz of mushrooms, and I’m like, JFC, this is a lot of mushrooms. Did I buy too many? So I check the recipe, and no, I bought the correct amount. The recipe yields 12 servings, or 4 full cups of gravy.

Fortunately, it’s DELICIOUS, and after licking the spatula, I switched to a spoon and just started eating it like soup. Why isn’t it soup? It IS soup.

https://www.seriouseats.com/mushroom-gravy-sauce-recipe

Wanted to get more done today, specifically, I’d planned to cook the beans and prep the mushrooms for the entree. Unfortunately, it’s a pretty busy week for me and Mike, apart from cooking and cleaning and decorating. Tomorrow we have two (count ’em, TWO) appointments in the middle of the day.

Stay tuned to see if I catch up tomorrow!

It’s just a lot of gravy. “Normal size” mason jar for scale.
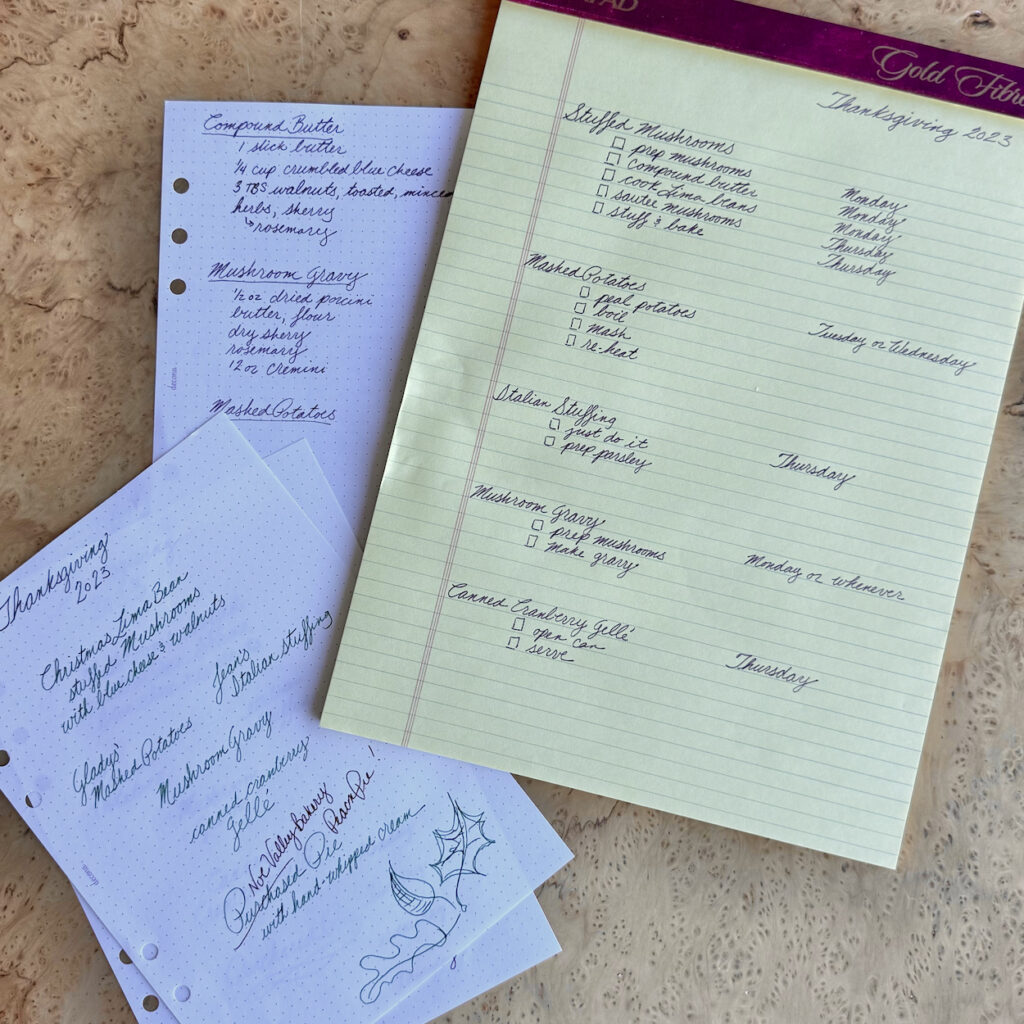
Planning gives me a chance to play with my pens!
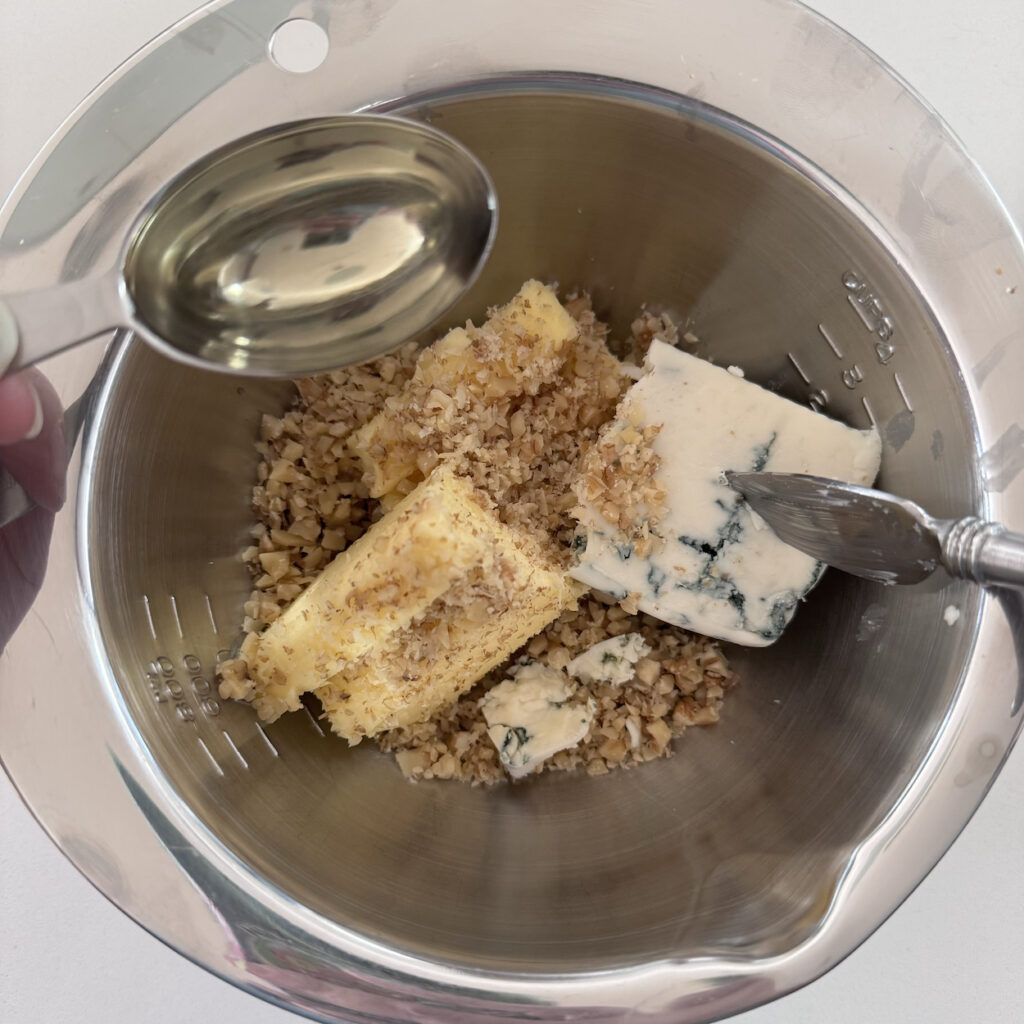
Compound butter ingredients, adding the sherry.
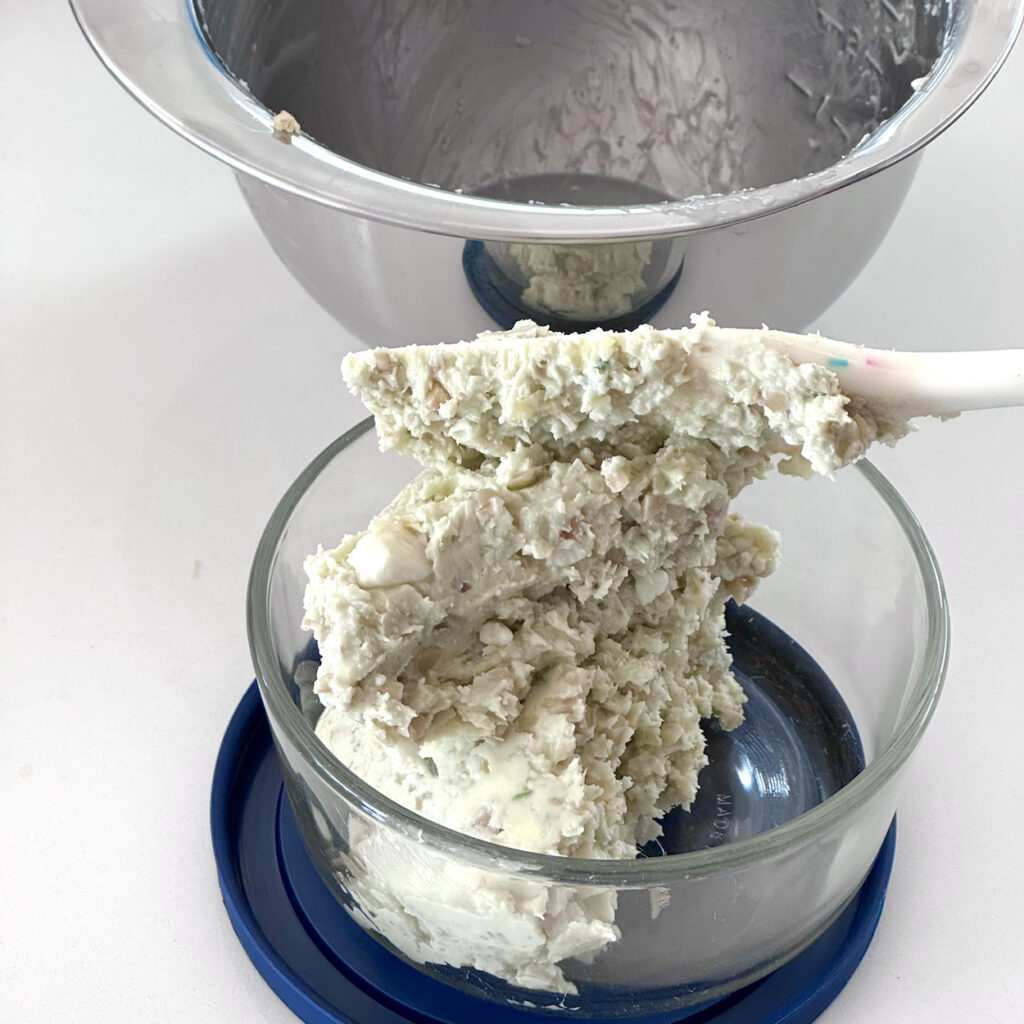
Compound butter, finished.
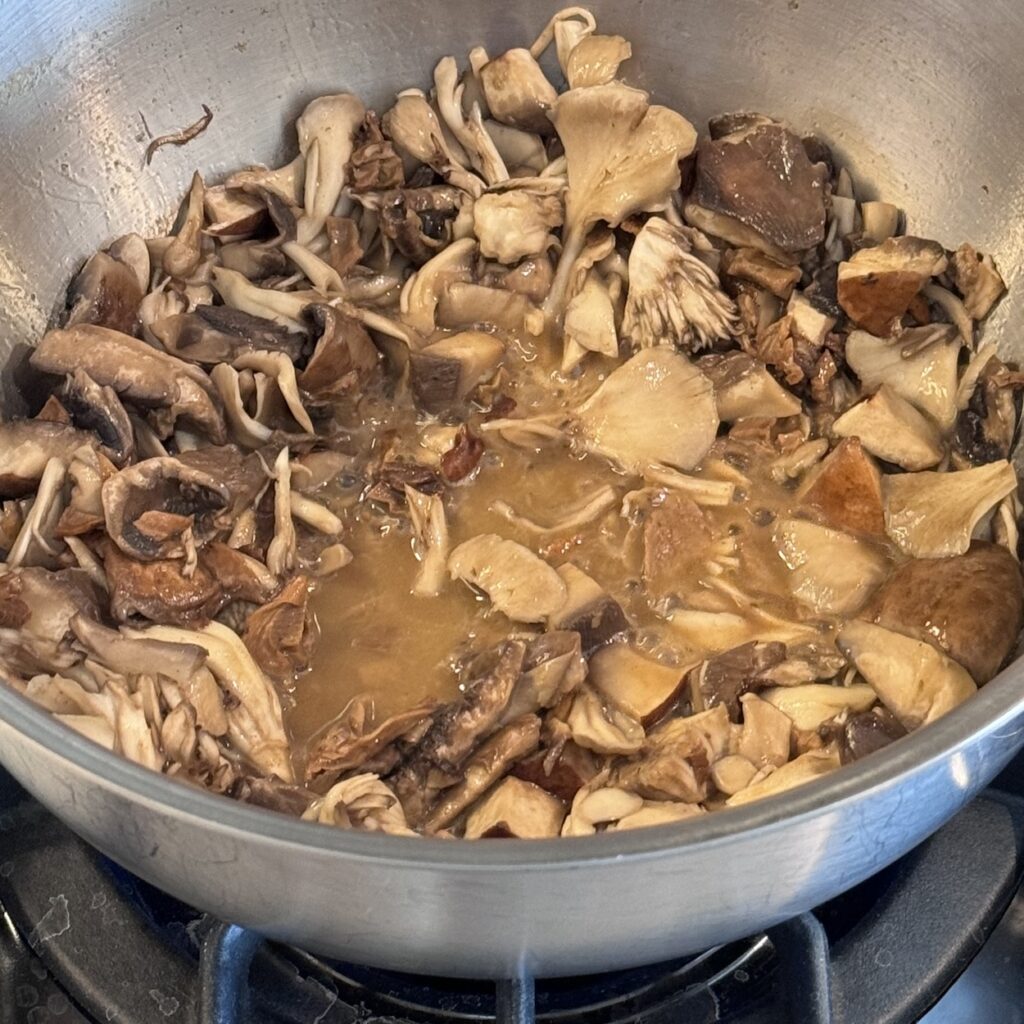
Look at those beautiful mushrooms!!!

Tuesday:

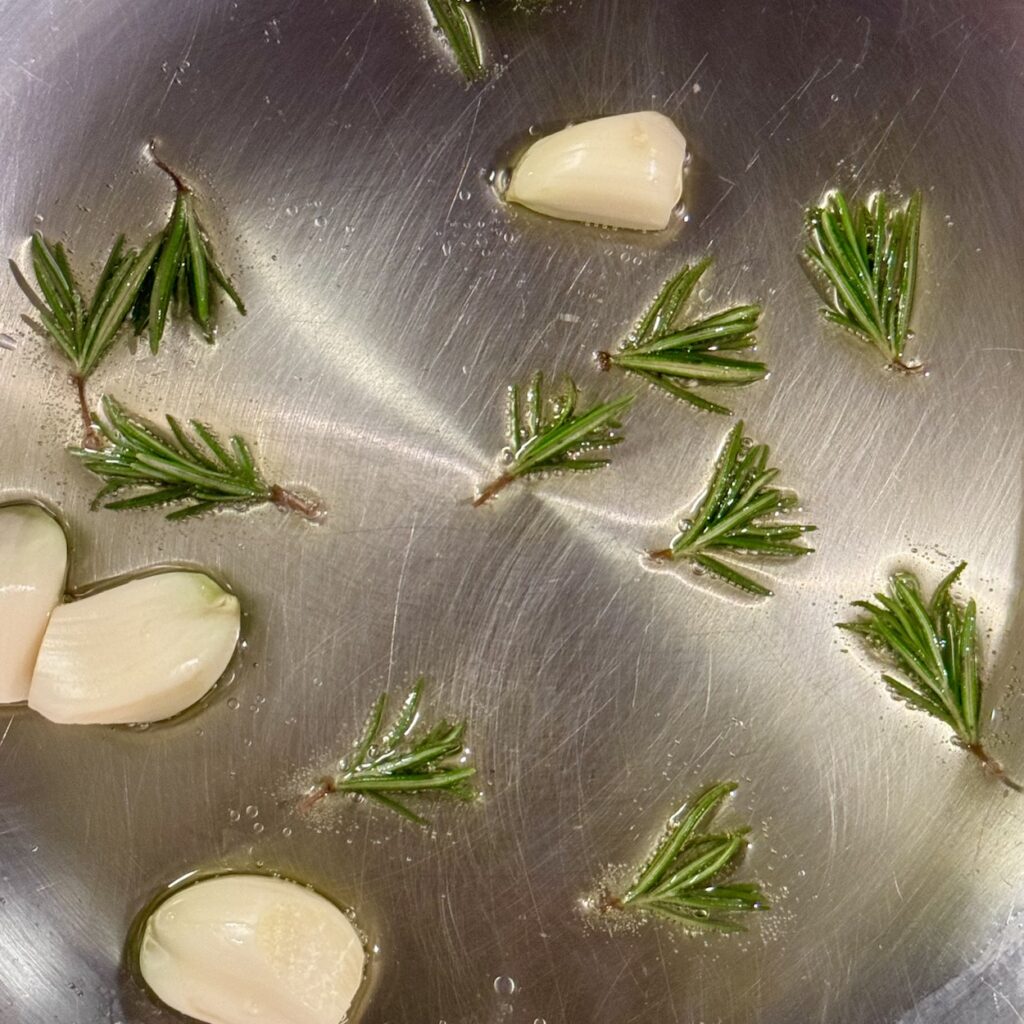
Garlic and rosemary in olive oil to start the beans.
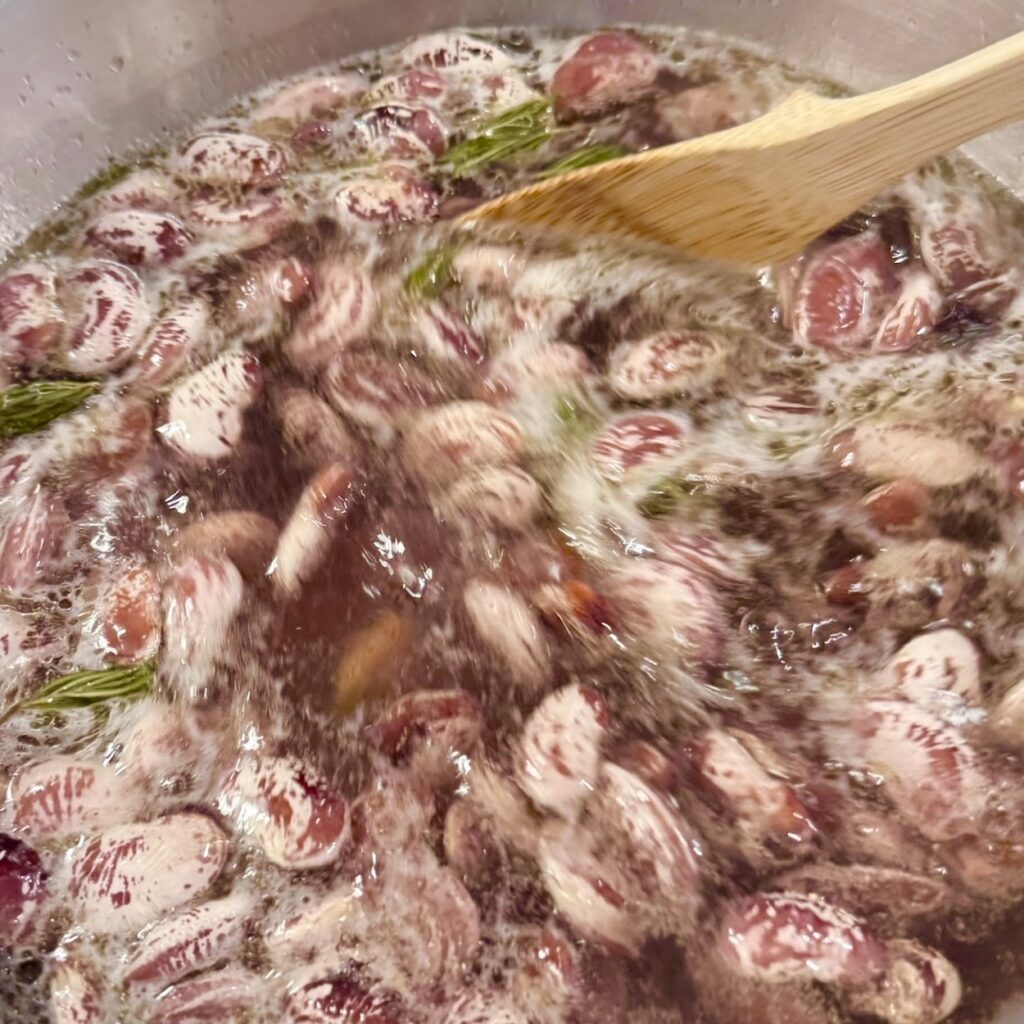
HARD boil. 10 minutes.
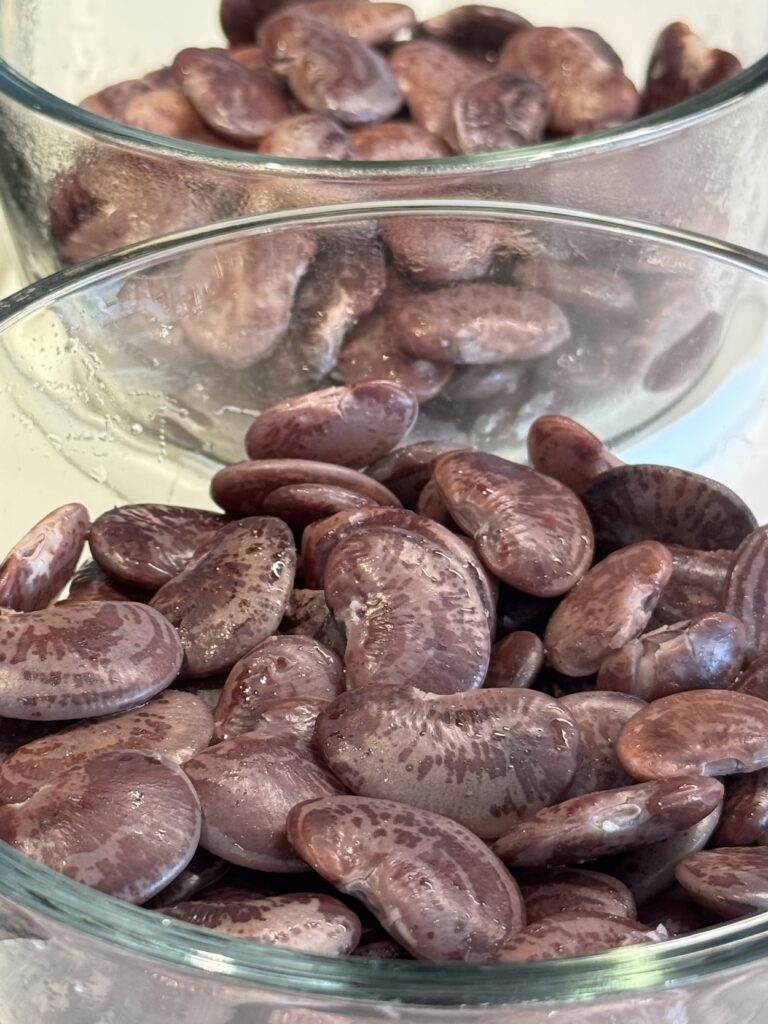
Finished. OMG. So delicious.

Woke up to a text from my sister-in-law.

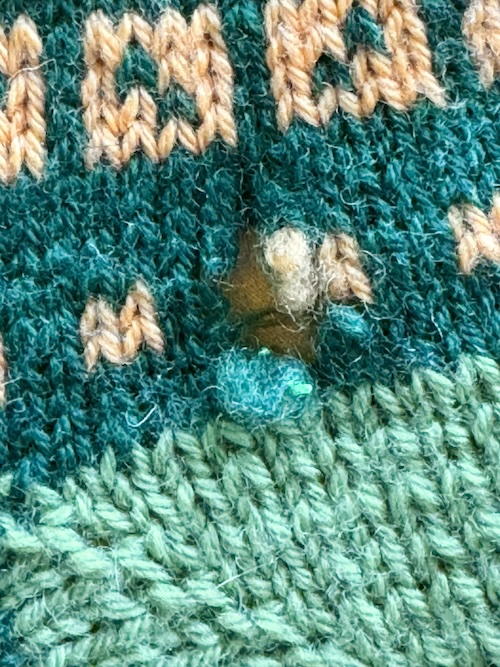
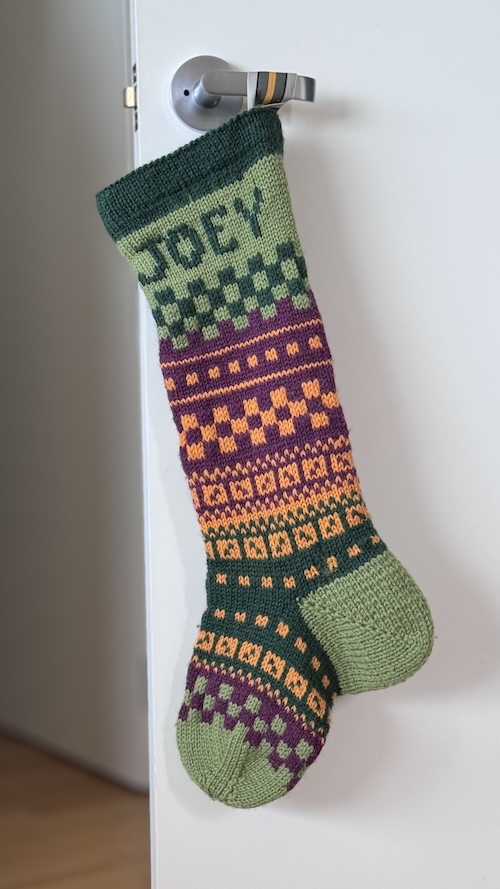
I had knitted Christmas stockings for all the nieces and nephews when they were born. When they were putting away their Christmas decorations last year, they asked me if I could repair a tiny hole in one of the stockings. Honestly, a 5-minute job. Of course! I’m happy to do it! They give me the stocking. I promptly put it aside, and don’t give it another thought until this morning, when my sister-in-law texted, asking if I had the stocking ready, bc they needed it for Christmas.

Dear reader, I have NO FUCKING CLUE where that stocking might be. It has not been repaired, unless the elf on the shelf has gotten out of the snitch racket and started being actually helpful for a change.

So, for those keeping score at home, today I need to:
– Catch up on the cooking prep I didn’t finish yesterday.
– Do all the cooking prep originally scheduled for today.
– TWO appointments outside the house!
– Find, repair, and ship the missing stocking.

It’s really not as bad as it sounds. I mean, the stocking situation is BAD, but the cooking is fine. I got up and immediately started the beans. As you know, I use the Rancho Gordo method, which for this batch went something like this:

Christmas Limas
1/2 lb beans
1/4 tsp baking soda, divided
2 TBS salt, divided
2 TBS olive oil
4 large cloves garlic, peeled
lots of rosemary
1/4 tsp ground black pepper

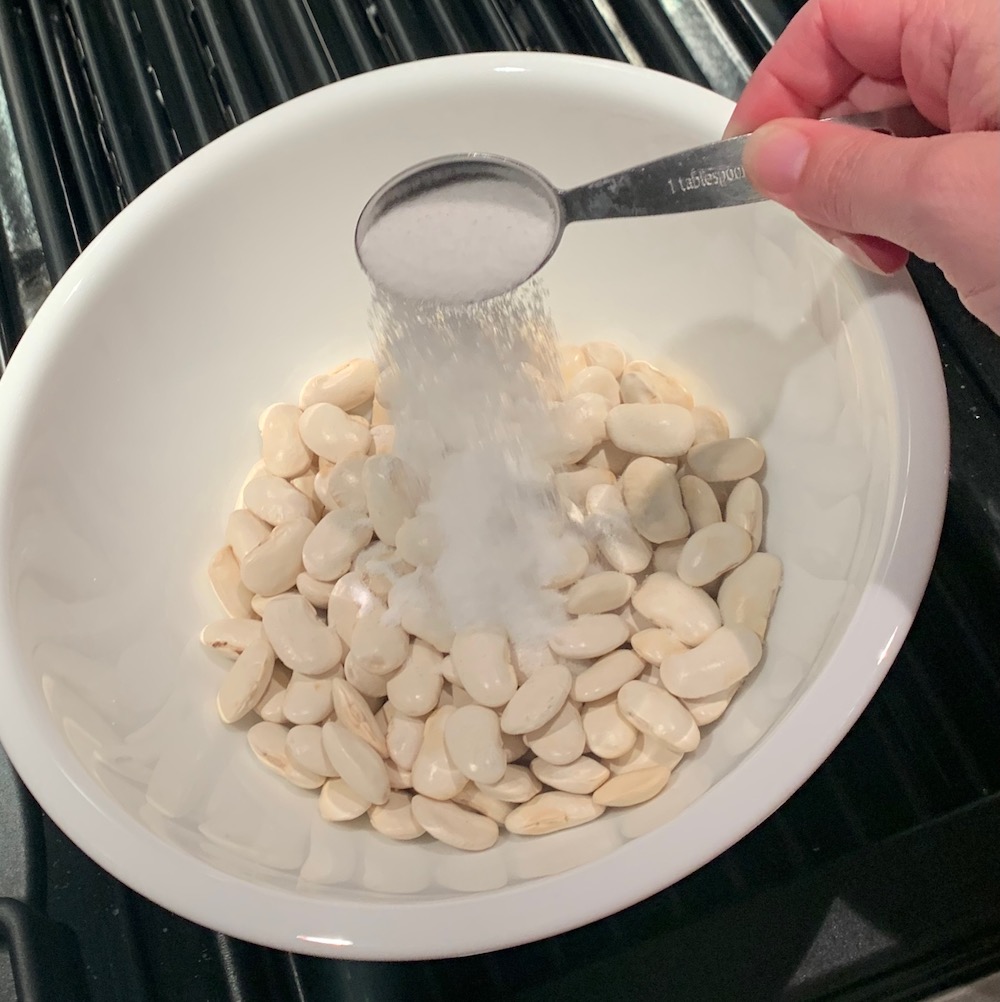
– I did a pre-soak, only bc I remembered. Put beans in a large bowl with 1/8 tsp baking soda and 1 TBS salt, filled with cold water, stirred, covered (only so the cats wouldn’t get into it) and let sit overnight.
– Woke up, freaked out over the stocking, poured a cup of coffee.
– Drained and rinsed the beans.
– In a large pot, sauted garlic and rosemary in olive oil, just until fragrant. Added beans, lots of water, 1/8 tsp baking soda and 1 TBS salt, pepper. Brought to a hard boil, and let ‘er rip for 10 minutes. Turned the heat down to as low as it will go, and covered, leaving the smallest crack to vent.
– Sat down to update the blog. Still haven’t finished my coffee. Start to wonder exactly what time I started the beans. They need maybe 45 minutes? IDK. It doesn’t matter, since I don’t know what time they started.
– Ah! But I took a picture of the beans boiling! So, check the time stamp, 8:22am, great, it’s been about 40 minutes, I should check.
– Yup. Done. Transfer into pyrex to cool. Try not to eat too many right now.

Stocking Update:

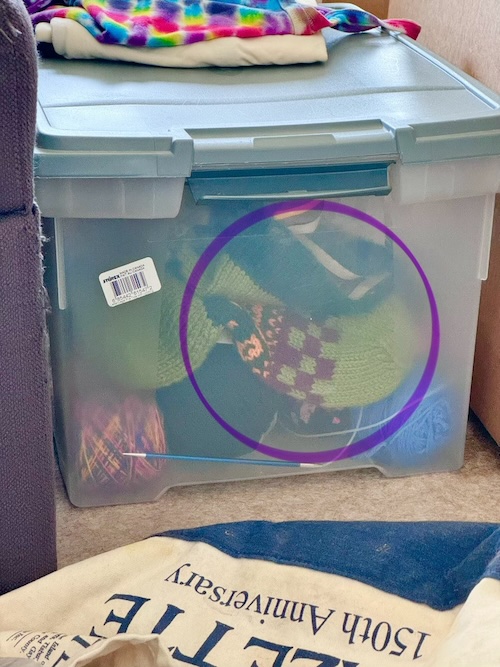
Found the stocking.

Found the hole.
Fixed the hole.
Ready to ship!

Wednesday:

I’ve typed an update each day, with the day of the week in large, bold type, but I still can’t believe it is Wednesday, and tomorrow is Thanksgiving. I’m doing fine with cooking, but I need to clean for company. Okay, yes, company isn’t coming until Sunday, but, still. I think Sunday will be the first “party” we’ve hosted since the before times, and neither my living room nor I am ready in any way.

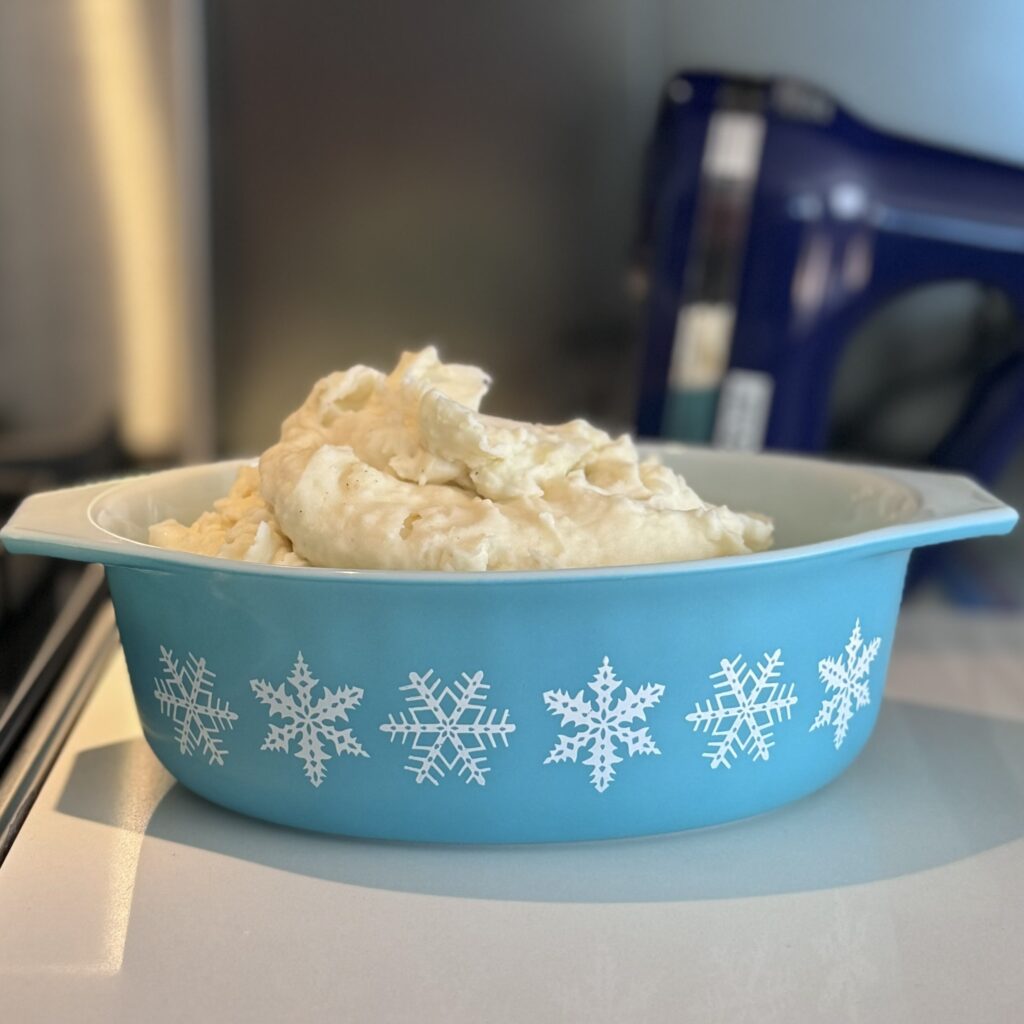
ANYWAY. Wednesday. I’ve made the mashed potatoes, and they are perfection. They taste just like Grammy’s, even tho I followed the recipe from The Pioneer Woman, which I’m pretty sure is the same as Grammy’s. No real mods, I didn’t use Lawry’s, I did use white pepper.
https://www.thepioneerwoman.com/food-cooking/recipes/a12083/delicious-creamy-mashed-potatoes/

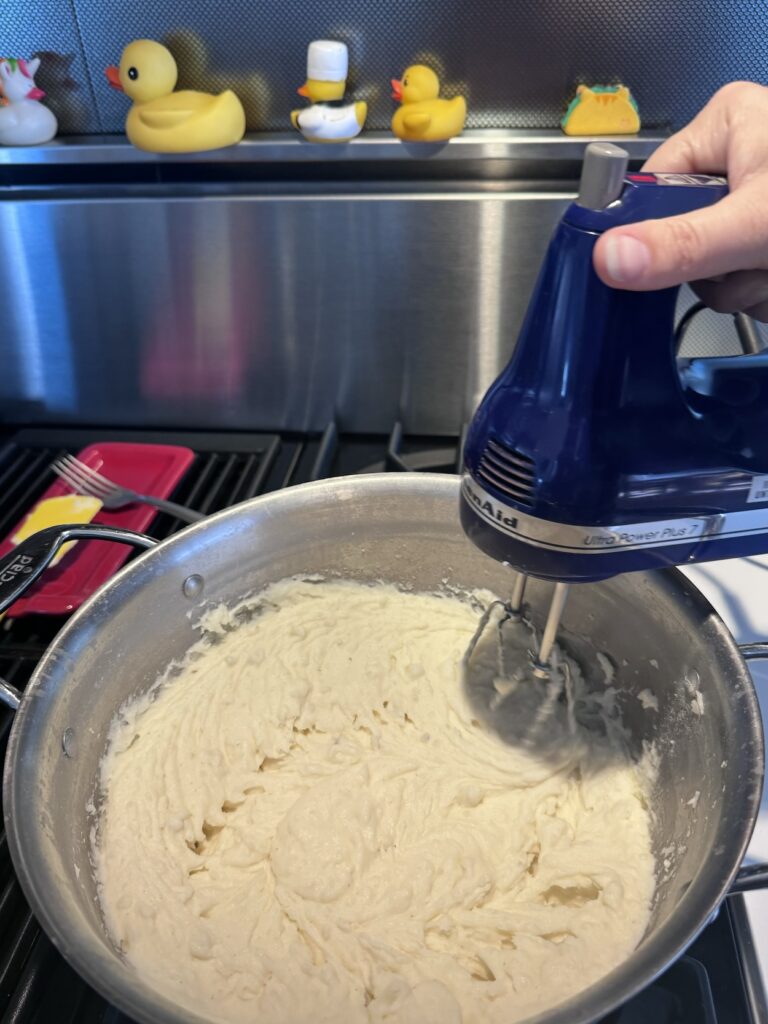
Turns out, I don’t own a potato masher. I used a pastry knife to start, and switched over to my hand mixer to finish, which worked fine.

All Grammys everywhere should be proud.

Checklist and timing for tomorrow:

12:30 – Pull mashed potatoes and compound butter out of ‘fridge
1:45 – Make stuffing
2:00 – Pre-heat top oven to 350
2:15 – Saute and stuff mushrooms
2:25 – Stuffing into top oven
2:50 – Mashed Potatoes in top oven
3:00 – Pre-heat bottom oven to 450
3:01 – Gently reheat gravy
3:15 – Mushrooms in bottom oven
3:25 – Everything out of oven, plate the cranberry gelée
3:30 – Sit down to dinner

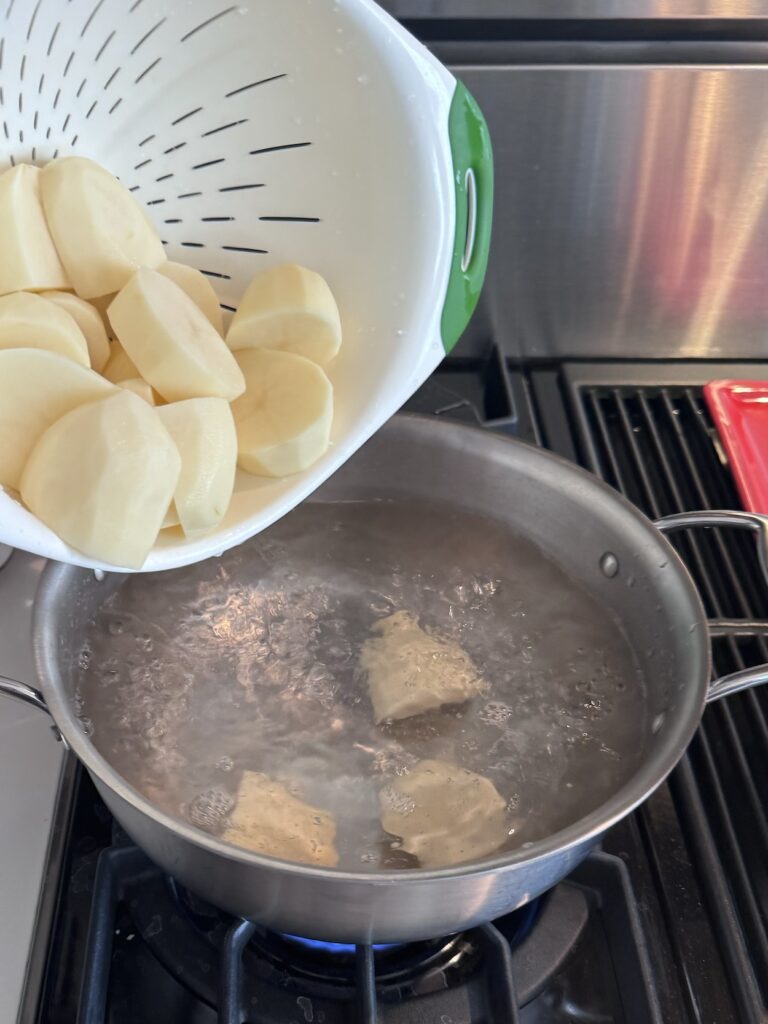
Boiling the potatoes…
…and whipping in the three different kinds of dairy.
Prep is done. We’re ready.

Thursday: Thanksgiving Day

Like most days, I started today with a Prilosec and cold brew.
Unlike most days, I added a splash of Amaretto to my coffee, because it’s a holiday, dammit.

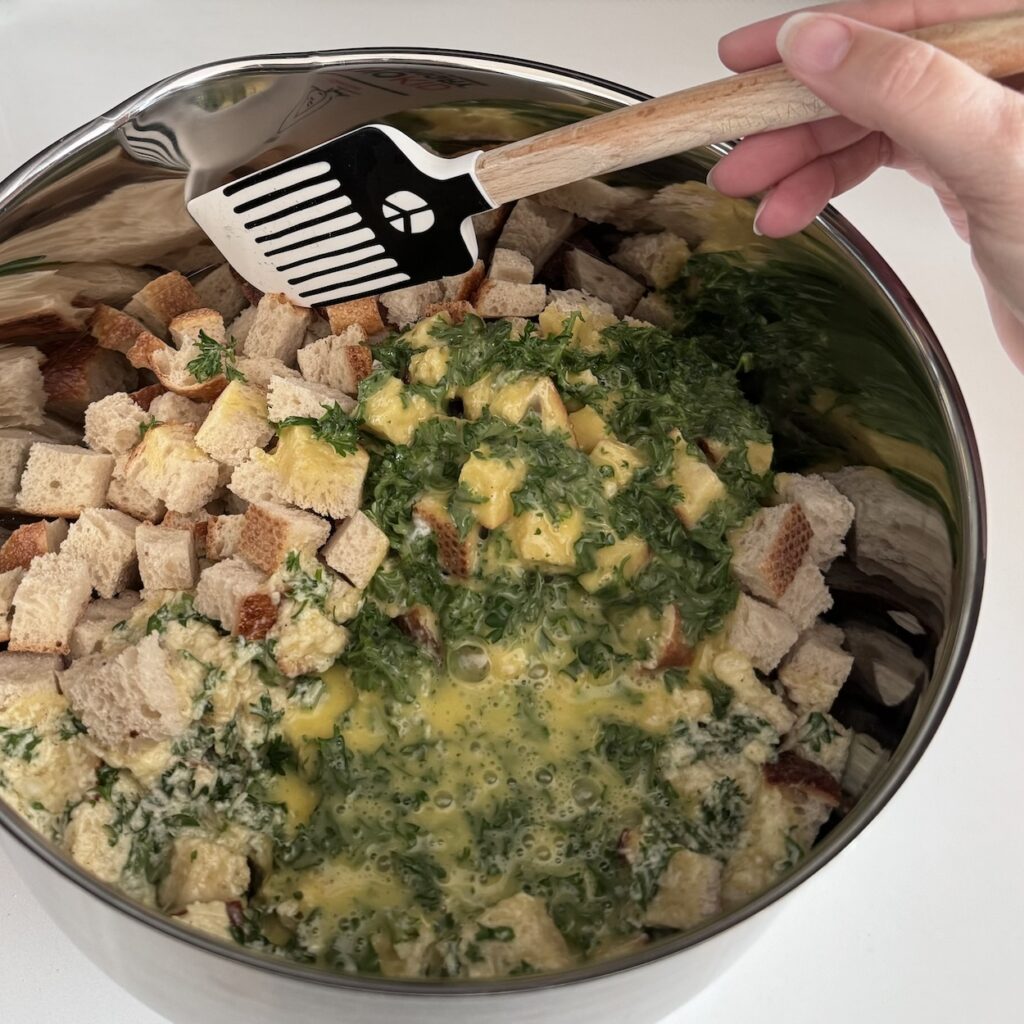
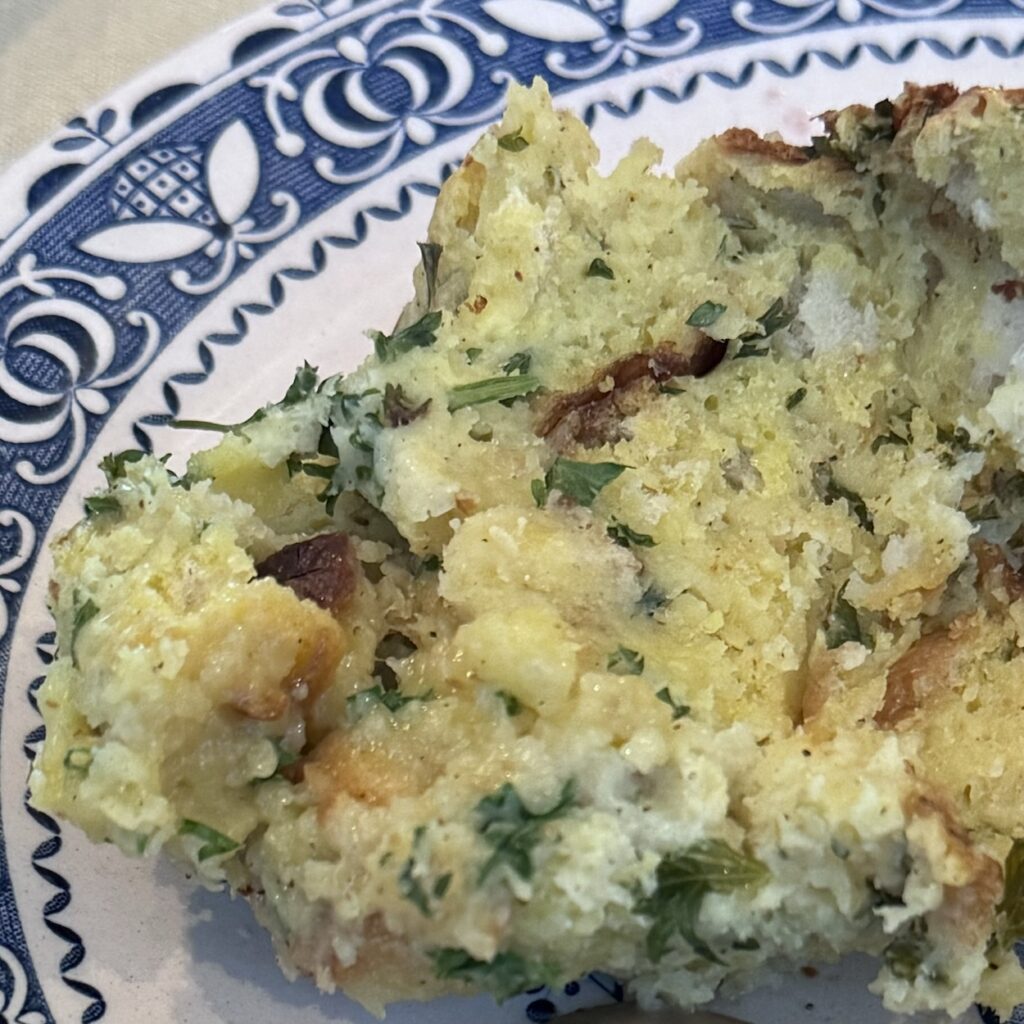
Stuffing, before.
Stuffing, during.
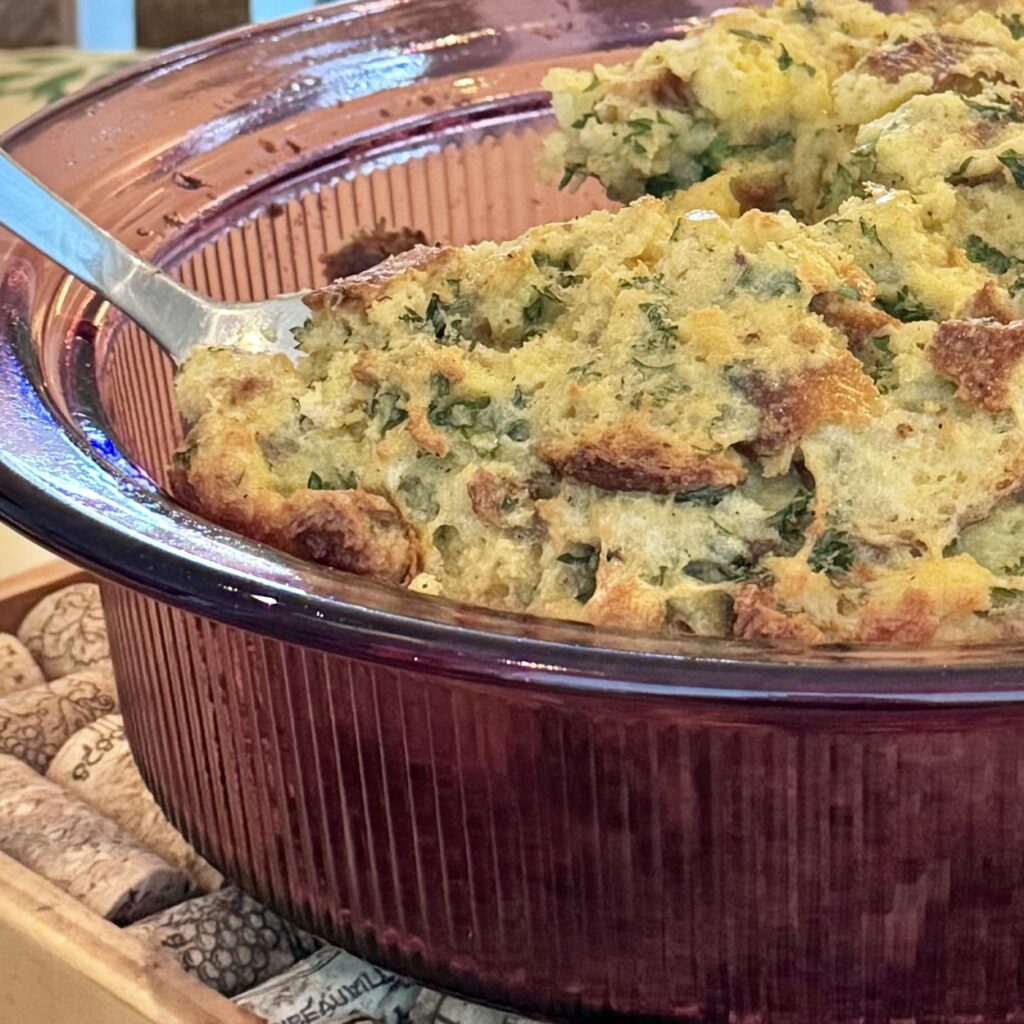
Stuffing, after.

Grandmom Jean’s Stuffing.

Growing up, this was our all-purpose stuffing. We used it for stuffed peppers, braciole, and of course, Thanksgiving.

I was explaining the recipe to some friends, and they pointed out that this recipe is more like a savory bread pudding than stuffing. Great! Whatever. To me, this is stuffing.

The recipe is simple, but, in honor of Grandmom Jean, who died way too young and didn’t give up her cooking secrets easily, I’m not really able to give any exact measurements. It’s more of a, “keep adding things until it smells right” situation.

1 loaf good crusty Italian bread
12 eggs
4-5 cups grated Locatelli (ONLY Locatelli. If you can’t find it, do not make this recipe.)
1/2 – 1 bunch parsley (the whole bunch, from the grocery store) cleaned and minced
1/2 – 1 tsp black pepper

– Cube the bread, spread in one layer on cookie sheet, and leave out to dry or dry in the oven.
– Whisk together the eggs, and the rest of the ingredients, starting with the smaller quantities. Stir into the bread cubes. Stir, stir, stir. You want the bread to absorb all the eggs, and start to dissolve. You *don’t* want bread cubes floating in eggs. Give the mixture a good sniff. You should clearly smell each ingredient. Can you smell the parsley? If not, add more. Can you smell the cheese? If not, add more.
– Transfer into a greased casserole dish. It’s good to let it sit for a while (even overnight) in the ‘fridge, so that *all* of the bread has absorbed the egg, but this isn’t critical. Today I only let it sit about 30 minutes while I pre-heated the oven.
– Bake at 350 for about an hour, or until a knife inserted in the center comes out clean.

I didn’t get a glamour shot, so you’ll just have to trust me that everything was absolutely delicious!

Maggie’s Mushrooms

Maggie got naming rights to this dish because she gave me the idea to use the mini-muffin pan. Brilliant!

24 perfect crimini mushroom caps, cleaned and de-stemmed
Compound butter and Christmas Lima Beans (above)

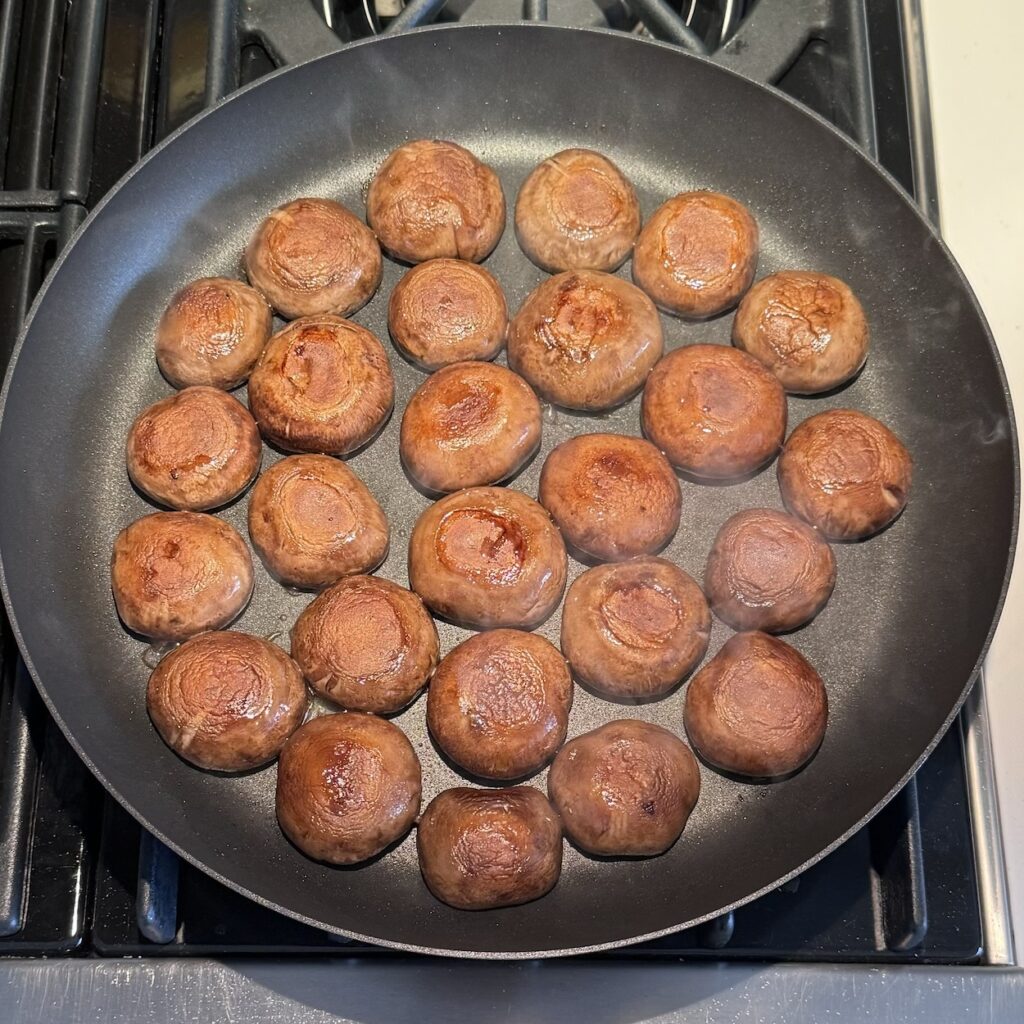
– Saute the mushrooms just until they give up their liquid.
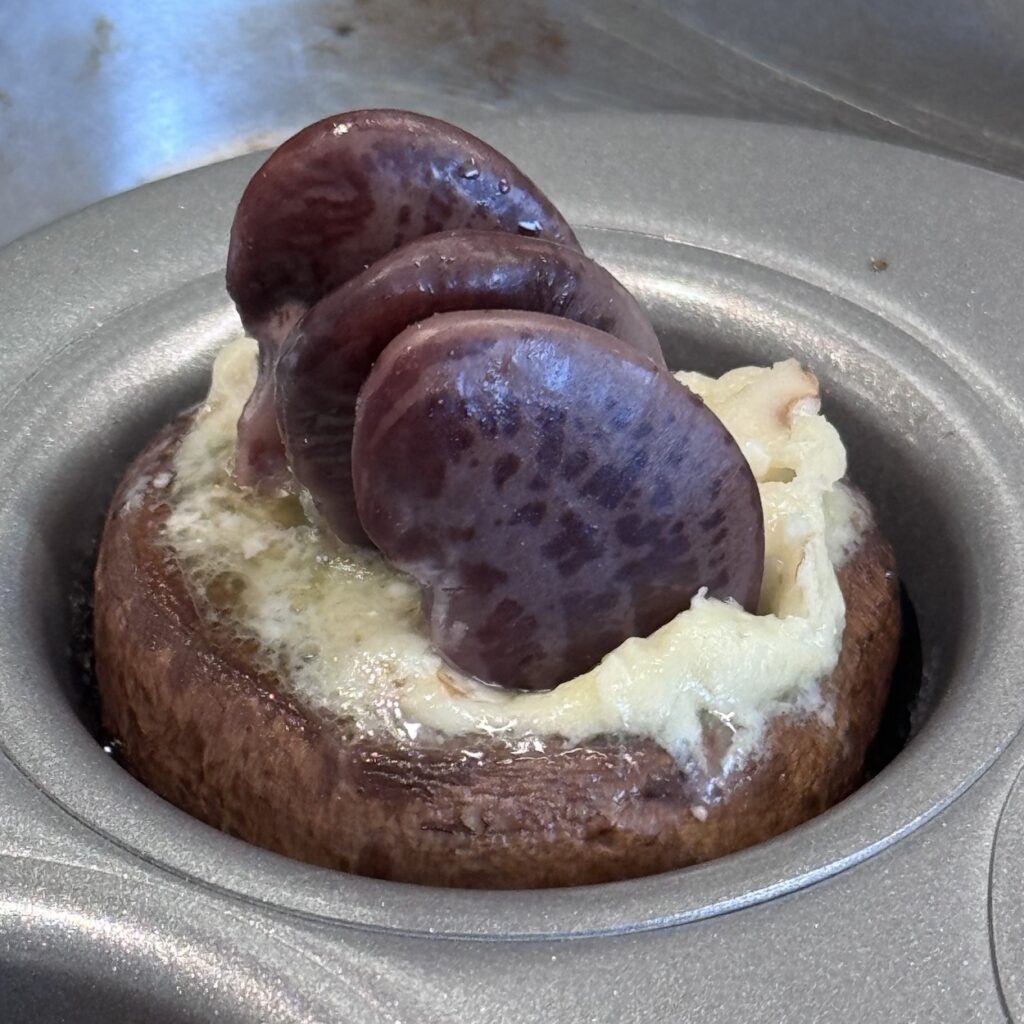
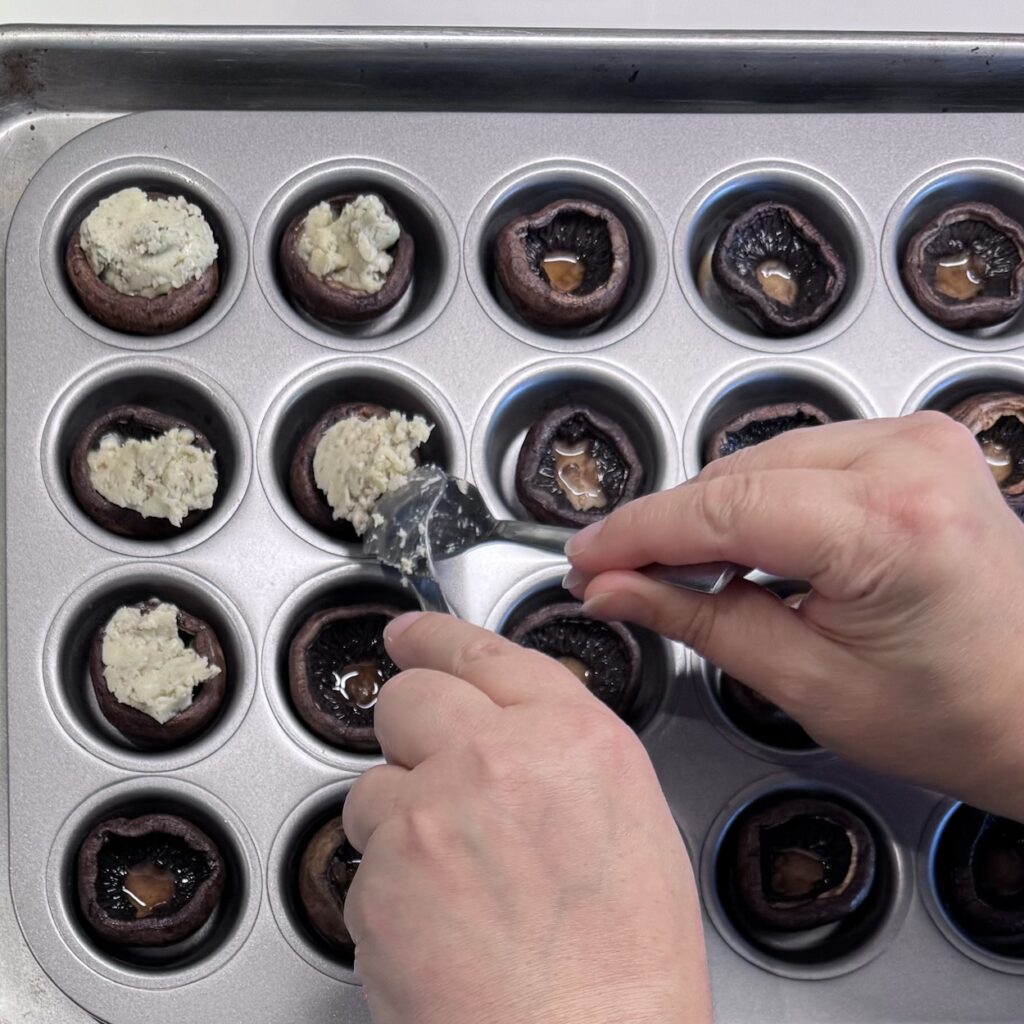
– Distribute caps into a mini-muffin pan. Stuff each cap with about 1tsp compound butter and exactly 3 Limas.
– Bake at 425 for about 12 minutes until sizzly.

I’ll be honest. They were much prettier before they went into the oven. Below is a “before” pic, the beans split in the oven, spoiling their cover girl good looks. But OMG so delicious!!! The balance of flavors was perfect.

Mmmm. Mushrooms.
Mmmm. Compound butter.

The leftovers have been put away, and I’m typing by the twinkly holiday lights in our windows. Thanksgiving is over.

Really happy with how everything turned out. The mashed potatoes and stuffing with the mushroom gravy were *exactly* what I want Thanksgiving to taste like.

I’m always a little bemused when I plan and cook for three days, just to eat one dinner. Conversely, I know I could take the time to make mashed potatoes any time I wanted, but I don’t. Mashed potatoes make this Thursday special.

This year I feel like I found a good balance between cooking plenty of delicious holiday foods, without running myself ragged, or feeling let down when it was over. So in the spirit of the holiday, I am grateful.
– I am grateful for all the therapy (physical and mental) that got me to the point where I can take on a big project without burning myself out. I sit here now, with only the faintest migraine, and for that I am SO grateful.
– I am grateful for the abundant good fortune that brought me to this moment, here, now, safe and warm, with a roof over my head, and delicious food on my table.
– I’m grateful for the friends and family that saw me through the days (years) when I was in pain, out of balance, and dysregulated.
– I am grateful for Paco & Francis.
– I am grateful for Mike.

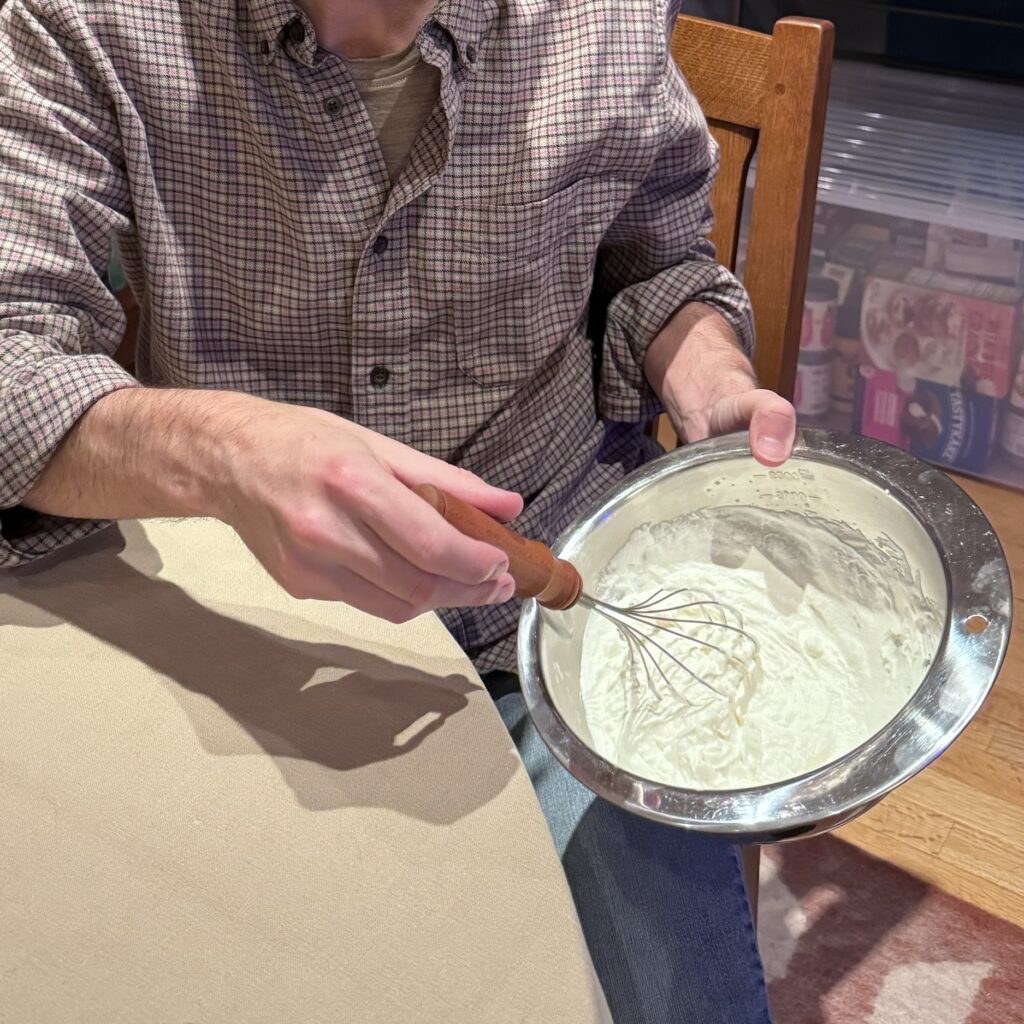
Mike always hand-whips the cream, with his ceremonial holiday whisk.

Garlic Prep

There’s no substitute for fresh garlic. Sure, I cook with garlic powder, and even the little frozen cubes of minced garlic from Trader Joe’s, and they have their uses. But they aren’t the same as fresh. Don’t talk to me about that minced garlic in jars, that stuff is nasty.

The problem is, I hate peeling garlic. My fingers smell like garlic for the next 24 hours, and yes, I’ve tried peeling technique, and every scent removal hack. Now what I like to do is peel a whole mess of garlic, all at once, and then not worry about it again for months.

My technique, and no, I’m sure I didn’t invent this:

  1. Grab a large mixing bowl that can go into the freezer. Add ice to the bowl so it’s about 1/2 full, then add water until all the ice is covered. Put the bowl full of ice water into the fridge or freezer.
  2. Place a large pot (maybe 3-5 quarts) of salted water onto the stove to boil.
  3. Peel and trim at least 3 heads of garlic. Go big or go home. This isn’t worth doing for just a few random cloves.
  4. Blanch the naked cloves for 30 seconds in the now boiling, salted water.
  5. Immediately drain cloves, and plunge them into your prepared bowl of ice water.
  6. Fish the cloves out of the water, and let them dry on a clean dishtowel.
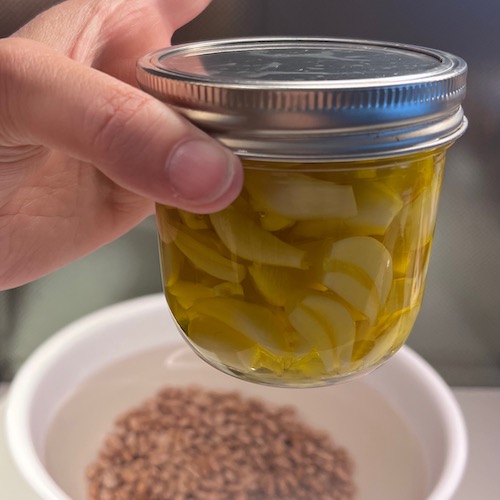
  7. Once dry, place all the cloves into a mason jar, and pour olive oil until the cloves are just barely covered. You don’t want any peeking thru the top, but you also don’t want to have to dig through an inch of oil to find a clove.
  8. Cover with a tightly fitting lid, and refrigerate. The oil will likely solidify, that’s fine.
  9. Whenever you need fresh garlic, grab a spoon and dig out a clove. You’ll also have garlic-infused olive oil as a bonus. I can’t imagine what you’re cooking with a clove of fresh garlic that wouldn’t be improved with a little olive oil.

When I told my mom I was starting a blog, she specifically recommended this post. I think she classified it as “Life Skills Coaching” which I thought was maybe overstating things a bit. I don’t think I should be coaching anyone how to do anything, unless you want to learn how to knit backwards, which I seem to be pretty good at teaching.

But then…I laid in bed, not sleeping (yay age!) thinking of what, generally, these types of tips are called. It’s a “hack” but I hate that term. Maybe we are “leveling up” our skills. Why are all these terms gamer / coder terms? Didn’t people cook before Nintendo?

Prep is a restaurant term, and as a Capricorn I’m all about planning. So: Garlic Prep. Good enough.

Basic Beans

When I cook dried beans, I use the Rancho Gordo method. But I remember when I first started cooking beans, I was really not sure about the whole process. So, here’s the Rancho Gordo method for cooking beans, but with more hand-holding.

Ingredients:

  • 1 pound of dried beans
  • olive oil
  • 1 onion
  • 1/4 tsp baking soda
  • salt
  • seasonings
  1. Soak, or don’t. See, already, I’m a big help. The truth is, if I plan in advance to cook beans, then sure! I’ll soak! But if it’s 4:30, and I suddenly realize I need beans for dinner, then I won’t soak. Does soaking help? IDK. It’s supposed to speed up the cook time, and make the beans cook more evenly, but I don’t really see a difference. Because I’m almost exclusively cooking Rancho Gordo beans, and they are as fresh as dried beans can be, I don’t think soaking is required. But IF I am going to soak, I put the beans in a big bowl with lots of water and a tablespoon or two of salt.
  2. You’re going to need a big pot with a lid. I use a 5.5qt stainless steel. Maybe someday I’ll get one of those fancy La Creuset enamel dutch oven. Pour some olive oil into your pan, somewhere between 2 – 4 tablespoons. You know: glug-glug. I usually dice my onion, and saute until golden, but you don’t have to. You can use a whole, pealed onion. Or rough-chop. Sometimes I use garlic instead. Sometime I go the whole mirepoix. Use whatever you have, or nothing at all.
  3. If you soaked the beans, drain & rinse. If you didn’t soak the beans, just rinse. Add the beans to the pot, right on top of the onion, and add enough water to cover by several inches. **Pro tip: I don’t have a “pot filler” so I use my electric kettle to bring the water from the sink to the pot. Since now the water is in the kettle…I boil the water in the kettle. It saves a few minutes on the stove.
  4. Season. I add about 1 tablespoon salt, plus 1/4 teaspoon baking soda. Beyond that, maybe a bay leaf. Because I’m vegetarian, I almost always add a smokey spice, like powdered chipotle pepper or smoked paprika. Not too much, maybe 1/4 or 1/2 teaspoon. Use what you like. Give it all a good stir.
  5. THIS IS THE IMPORTANT STEP: Bring the beans to a hard boil. Let them boil, a good, strong, rolling boil, uncovered, 10-15 minutes.
  6. Turn your heat down as low as it goes, and cover the beans, leaving the lid cracked just a bit. They will continue to boil, and slowly cool down to barely a simmer. I leave them like that for about half an hour.
  7. Using an oven mitt bc boy that lid can get hot, check the beans. Give them a stir. Try one! How close is it to being done? If they are a thin-skinned bean, they may be done already! Or they might need another 15 minutes. Or, if they are old and ornery, and you didn’t soak them, maybe they need another 30 minutes. No matter what, I use the rule of 3: test three beans before making your decision.
  8. Usually at this point, once I’ve decided they are done, I turn off the stove, and leave the beans covered for a minute. This is because I’m likely going to refrigerate some, if not all, of the cooked beans. There’s no reason to burn yourself trying to transfer hot beans to your storage containers.

That’s it! You have – without a doubt – the most delicious beans ever cooked, ready to eat.